Looking for a hassle-free way to record webinars? You're in the right place.
Maybe you want to upload a webinar you hosted to YouTube. Or edit and share clips on social media. Or maybe you just need to save a copy of your webinar for future reference internally. Webinar recordings can be used in so many ways across your business.
This article shows how you can host and record webinars for free using Contrast. We’ll also explore best practices along the way to help you create lasting video content.
The Importance of Recording Webinars
Remember the last time you watched a great webinar? Let’s imagine it was full of tips that would help your team’s entire workflow. You probably wished your team could benefit from it too. This scenario is just one reason why recording webinars is essential.
It allows people to revisit the content, share it with those who couldn't attend the live session, and even repurpose your webinar for broader distribution.
Recording webinars ensures that the knowledge and discussions aren't confined to the moment, but can be leveraged over time. So how can you do it without spending hours on planning or money on complicated tools?
A Simple 10-Step Guide to Webinar Recording
Most webinar platforms have realized by now how important webinar recordings are and have added that feature. But some companies take advantage of that. They’ll only offer recordings on their more expensive plans.
At Contrast, we let everyone who uses our webinar platform access their webinar recordings. Even on our free plan. In the following section, we’ll show you how easy it is to set up and record a webinar using our platform.
Host and Record Webinars for Free
Start for free up to 30 registrants. No credit card needed.
Start for free1. Choose the right webinar software
Before you start recording, it's essential to choose the right webinar software. We built Contrast to help you run and record engaging webinars. It has all the core features you’d expect, plus a full suite of tools that make your webinars more engaging.

Contrast streamlines webinar planning and recording so that you can focus on creating great content
2. Set up your webinar
Let’s quickly review how you can set up a webinar in Contrast.
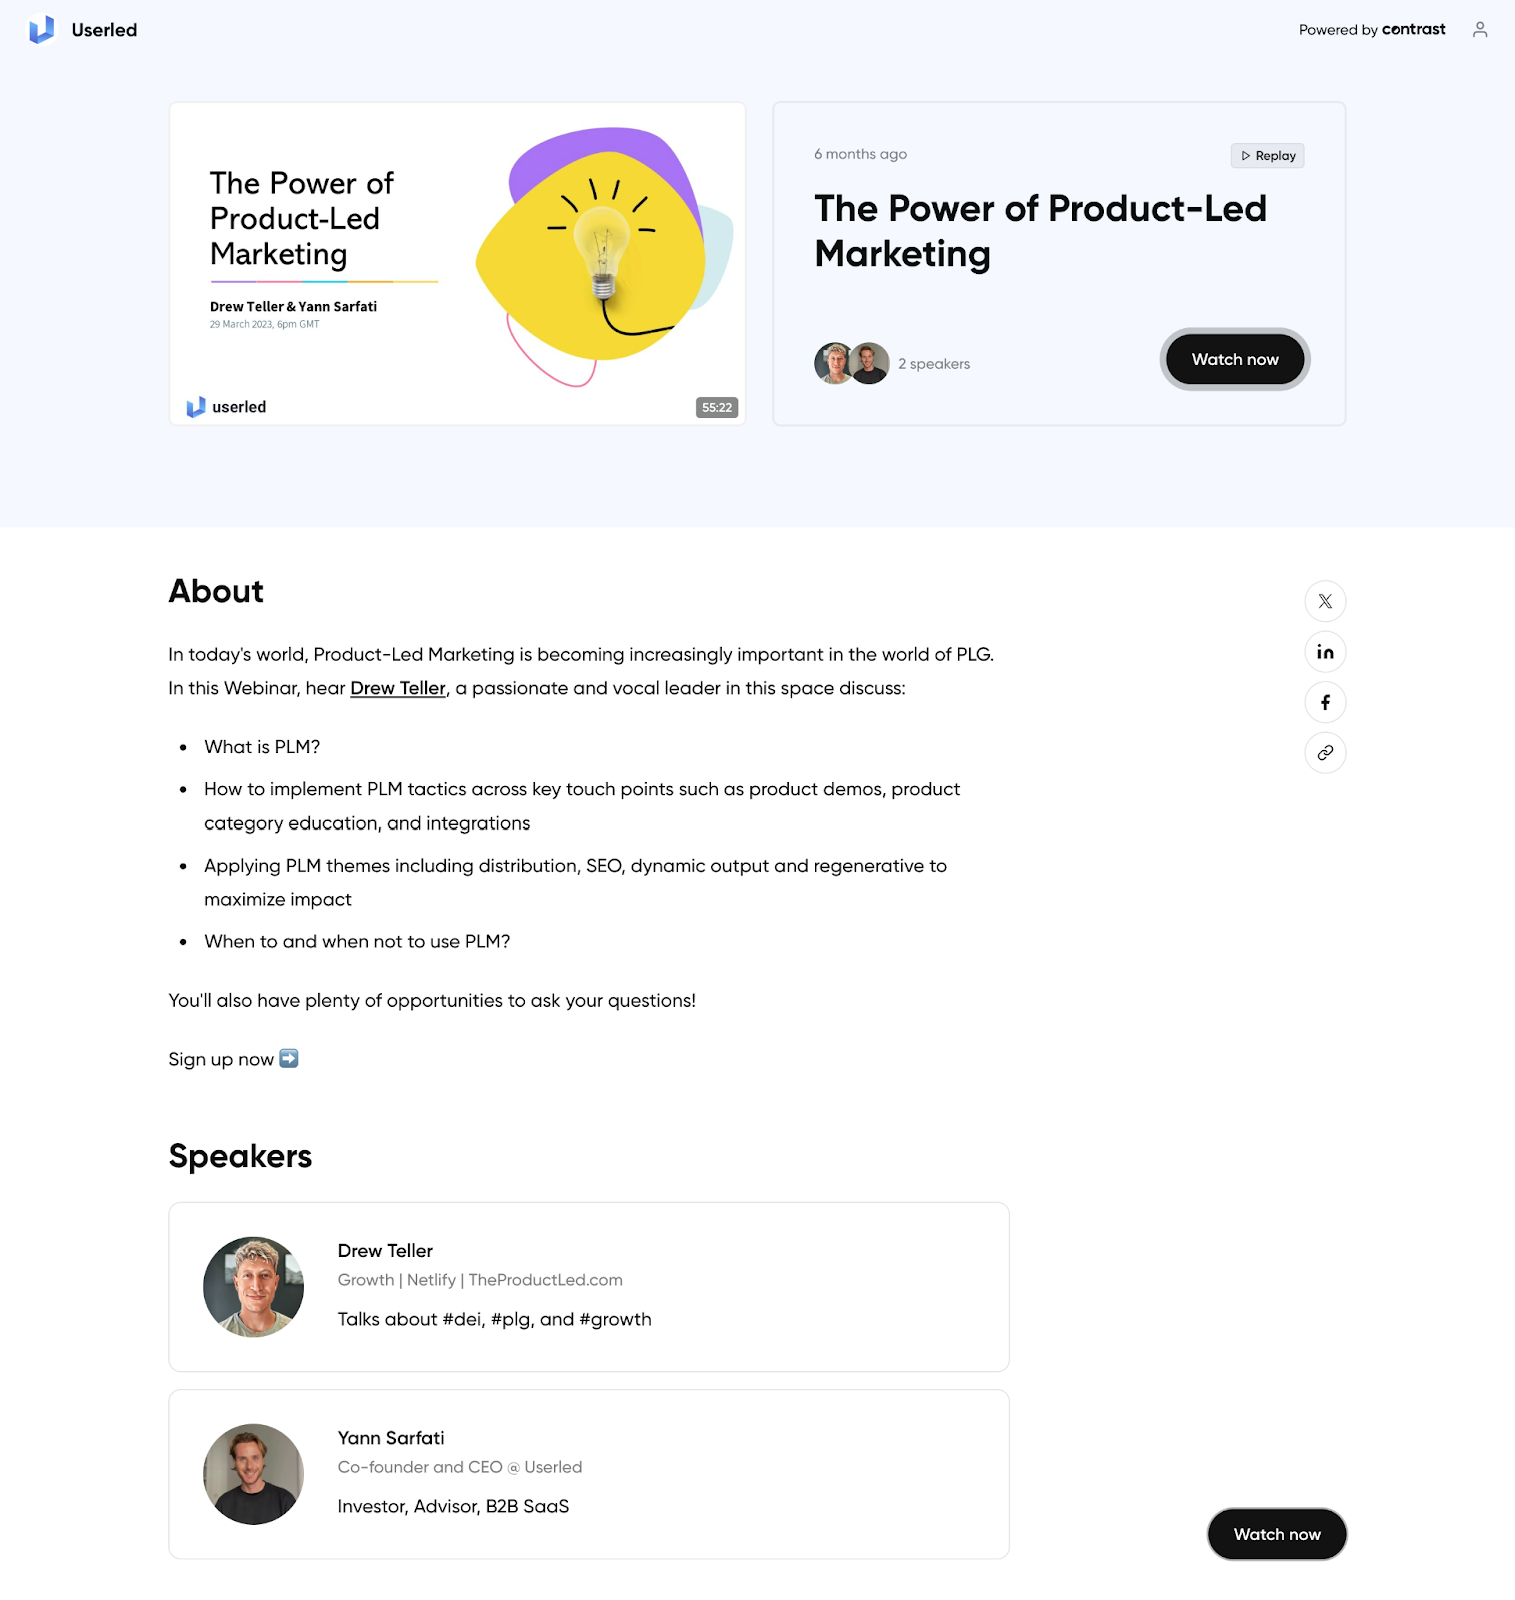
Begin by creating a registration page for your webinar. Include a headline, description, image, dates, and speaker information. You can also set up your email invites and automated workflows at this time.
Once that’s done you’ll see a popup with a link to your webinar registration page.

From the webinar setup page, you can now proceed to your recording space and set it up before you go live. We call this our Webinar Studio. You can add your theme, colors, and typography to help align your webinar with your brand guidelines.
Additionally, you can create polls, add webinar topics, and upload your slides prior to launching a webinar.
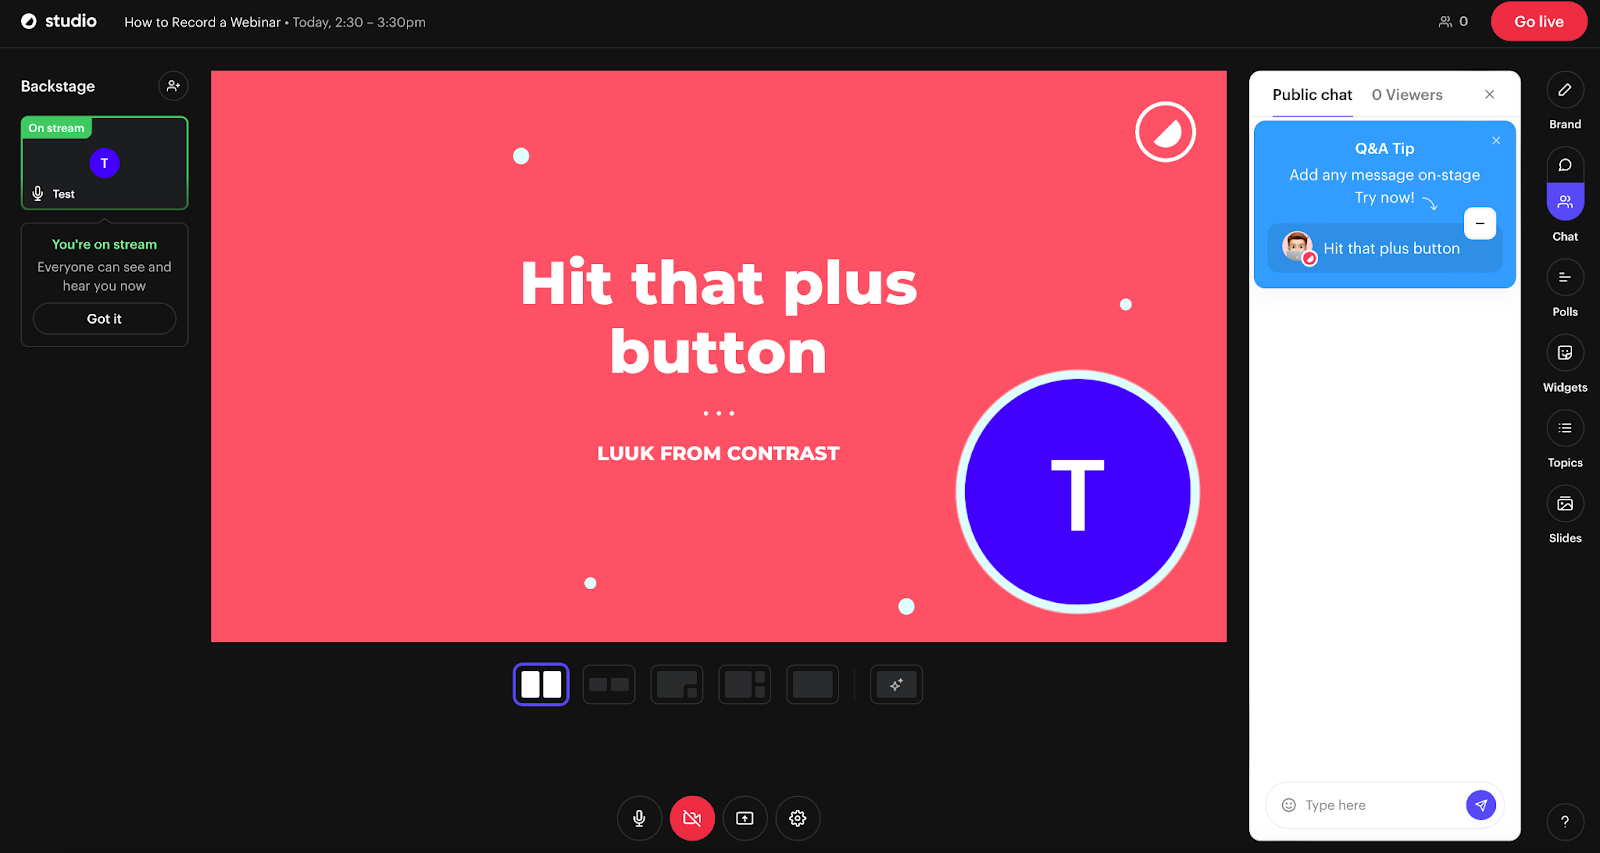
Once everything is set up, you are ready to go live. Your webinars are automatically recorded in high-quality and you’ll be able to access and edit them after the event. It’s that simple!
What You Can Do With Webinar Recordings
You can do a lot of different things with webinar recordings. Here are some of our favorite ways to use them.
3. Make webinar recordings available on-demand
You can get a lot more life out of live webinars by making them available for people to watch on-demand after. Those who missed the live event or who didn’t know about it can watch at their convenience. This increases your reach significantly.
Some webinar platforms get to you to download the video file and then you need to build a new landing page to host it. This process can be really time-consuming.
Contrast automatically makes your webinar available on-demand on the same link that people originally watched it on. This removes a lot of bottlenecks for marketing teams and makes it easier for your audience to find the webinar again.
4. Repurpose your webinar recordings
Repurposing your webinar recordings into shorter clips is a great content strategy. These clips can be used on social media, blog posts, or even email campaigns.
You can edit and share clips of your webinar recordings directly within Contrast for free. No need to download and pay for additional video editing tools.

5. Build a library of webinar recordings
Hosting all of your webinar recordings in one place makes it easy for people to find them. This library serves as a valuable knowledge hub for your audience and makes it easier for them to dive down your company’s rabbit hole.
You can create a resource library like this on your site, but that could take a lot of development time and is a hassle to keep up to date. With Contrast you can automatically publish all of your webinar recordings in one library.

6. Enhance SEO with transcriptions
Transcribing your recorded webinars to text is a helpful way to turn them into blog posts. This not only improves accessibility but also enhances search engine optimization (SEO). Search engines like Google can read and index text content and serve it up to people searching for the topics covered in your webinar.

We’re currently building AI features that will automatically create webinar transcriptions and turn them into search engine optimized blog posts.
Best Practices and Tips for Recording Webinars
But before you host and record a webinar check out these tips. They’ll help you feel more comfortable as a host and will help improve the quality of your webinar recordings.
7. Monitor internet speed
Where possible, a wired internet connection provides a more stable and reliable data transfer compared to Wi-Fi. This reduces the risk of disruptions during the recording. With a poor Internet connection, there is a risk of video glitches or freezes. This helps prevent potential disruptions during the recording process.
Before the webinar, use online speed testing tools to check your internet speed. You can do that quickly at websites like Speedtest.net.
8. Frame yourself appropriately
Proper framing of hosts makes your webinar recording look better. It also helps audiences focus on your content rather than distractions in the background. To focus their attention on you, position your webcam or camera at eye level and make sure your background is clean and clutter-free.
9. Enable hardware acceleration
Hardware acceleration improves the efficiency of the recording process by offloading some tasks to dedicated hardware components. As a result, you can record a smoother video, reduce strain on your computer, and ultimately, ensure a higher quality webinar.
While it may sound complicated, it’s actually easy to set up in your browser.
Here’s how to do it in Chrome and Safari.
For Chrome:
- Click the three stacked dots in the upper right of the browser window.
- In the popup window, choose “Settings”
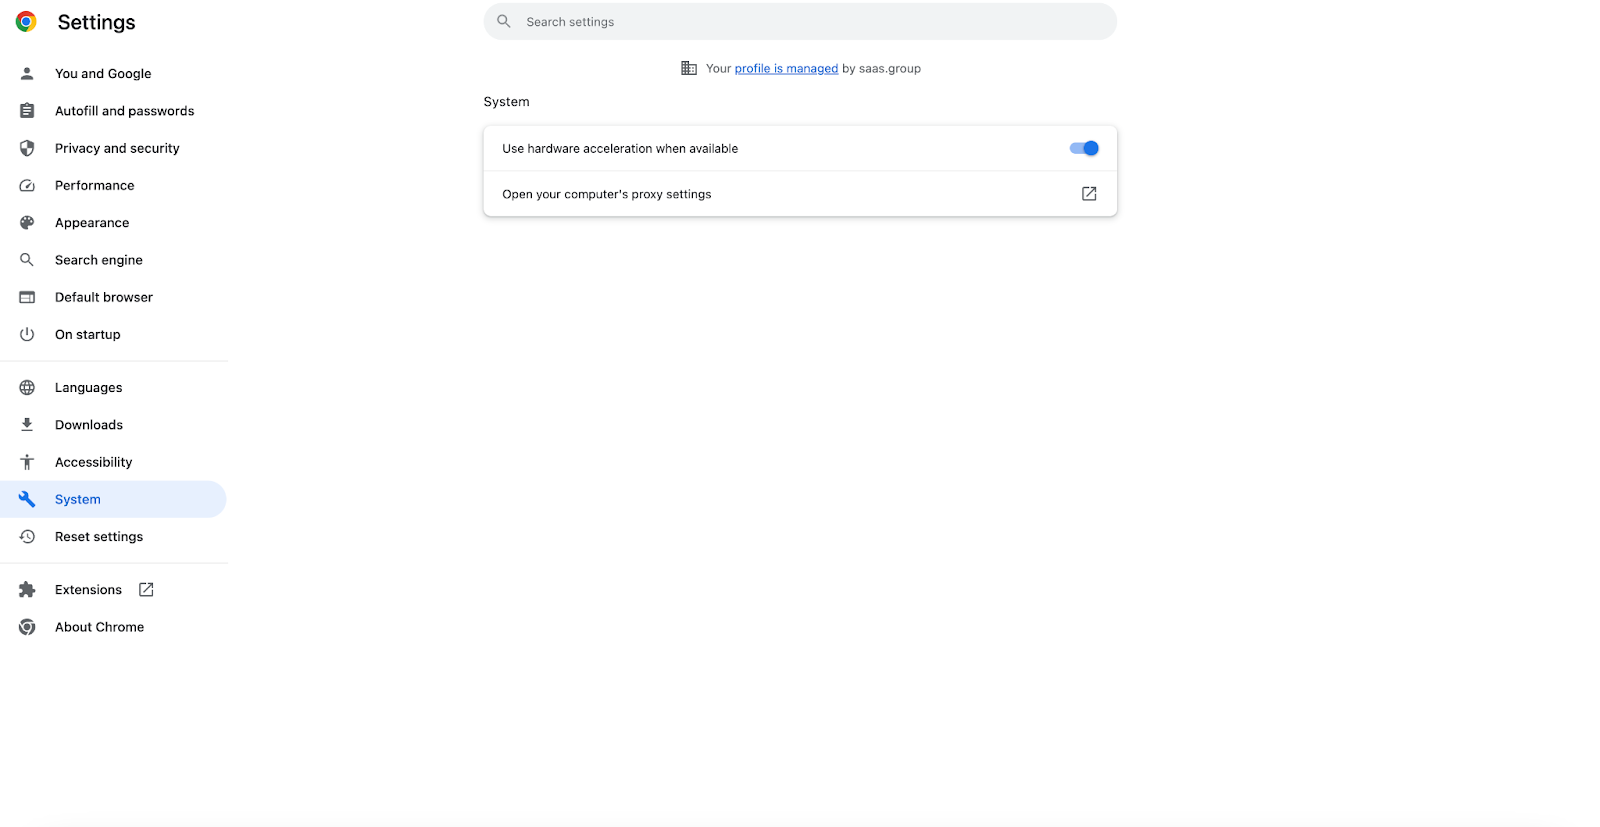
- In the new window, go to System and enable the option “Use hardware acceleration when available”.
For Safari:
If you are using the operating system, macOS Catalina (version 10.15), you don’t have to do anything — hardware acceleration is set up by default. However, you should take additional steps if you are using an older version of the operating system.
- Click on the "Safari" then "Settings" >
- Next, proceed to "Advanced" on the top right of the Settings window and enable "Use hardware acceleration"
10. Check recording permissions
Confirming permissions in advance helps avoid last-minute technical issues. If you don’t enable permissions for your hardware and storage, it means your attendees might not hear or see you during the event and you won’t be able to save an event in the folder you prefer.
Trying to look for a solution during the event can make you feel more stressed out and your guests won’t appreciate additional waiting time.
Double-check that all permissions are set up for your microphone, webcam, and storage access. Here is how you can do it for popular browsers.
For Chrome:
- Open Chrome.
- At the top right, click the three dots. Next, click Settings.
- Click Privacy and security. Next, choose Site settings.
- In the next step, look for the Permissions on the list of options. Select Camera or Microphone depending on the option you want to adjust.
- In the following step, select the option you want as your default setting. You can review your blocked and allowed sites.

For Safari:
- Click on the Apple icon at the left top side of the screen and proceed to System Settings.
- Next, click Privacy & Security at the left side and click Screen Recording, Microphone, or Camera, depending on your goal.

- Turn the option on or off for each app in the list.
FAQ
1. Where are webinar recordings usually saved?
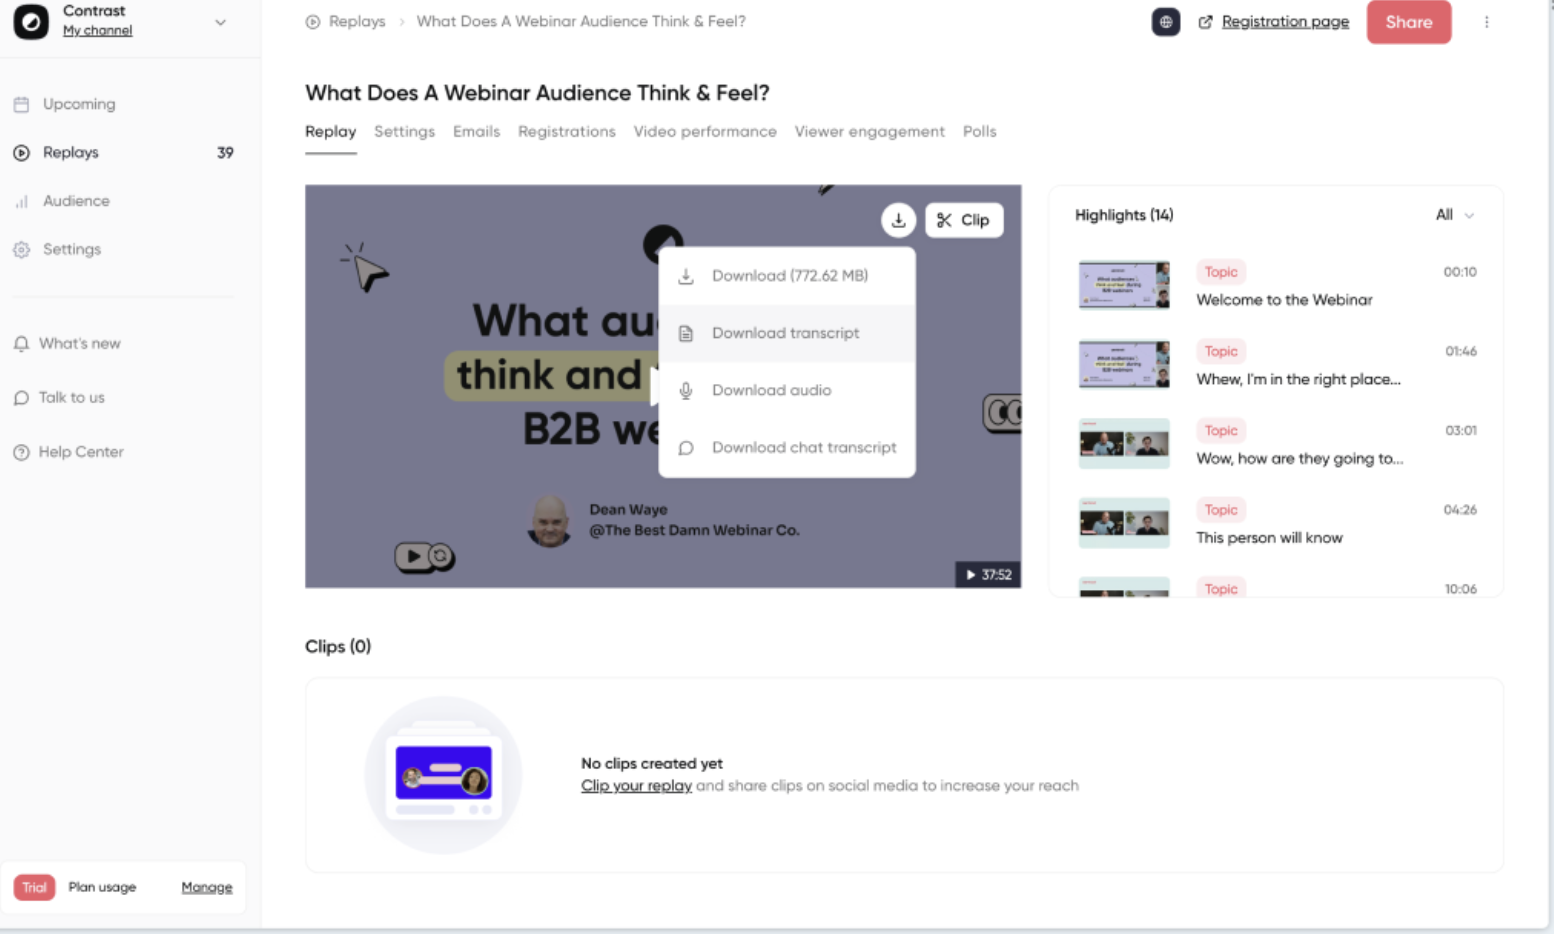
Recordings are often saved on your webinar platform's cloud. In Contrast, all your videos are automatically saved to your account. They can be accessed on-demand at the same link as the original live webinar and are added to your library. You can also download each video if you want to save them to your computer.
2. Can I edit a recorded webinar?
There are two ways you can edit a webinar recorded with Contrast. You can use our built-in editing tool which makes it easy to find and share the best moments. You can also download the recording and use any video editing software you’d like.
3. Can attendees access recorded webinars?
Yes, but only if you want them to. You can decide whether you want to share the recording with registrants only, make it public for a wider audience, or keep it private for your team's eyes only.
Conclusion
Recording a webinar transforms it from a one-time event to a valuable resource that can be accessed and shared indefinitely. By following these steps and using a platform like Contrast you’ll be able to record webinars easily and make the most out of your content.
Host and Record Webinars for Free
Start for free up to 30 registrants. No credit card needed.
Start for free